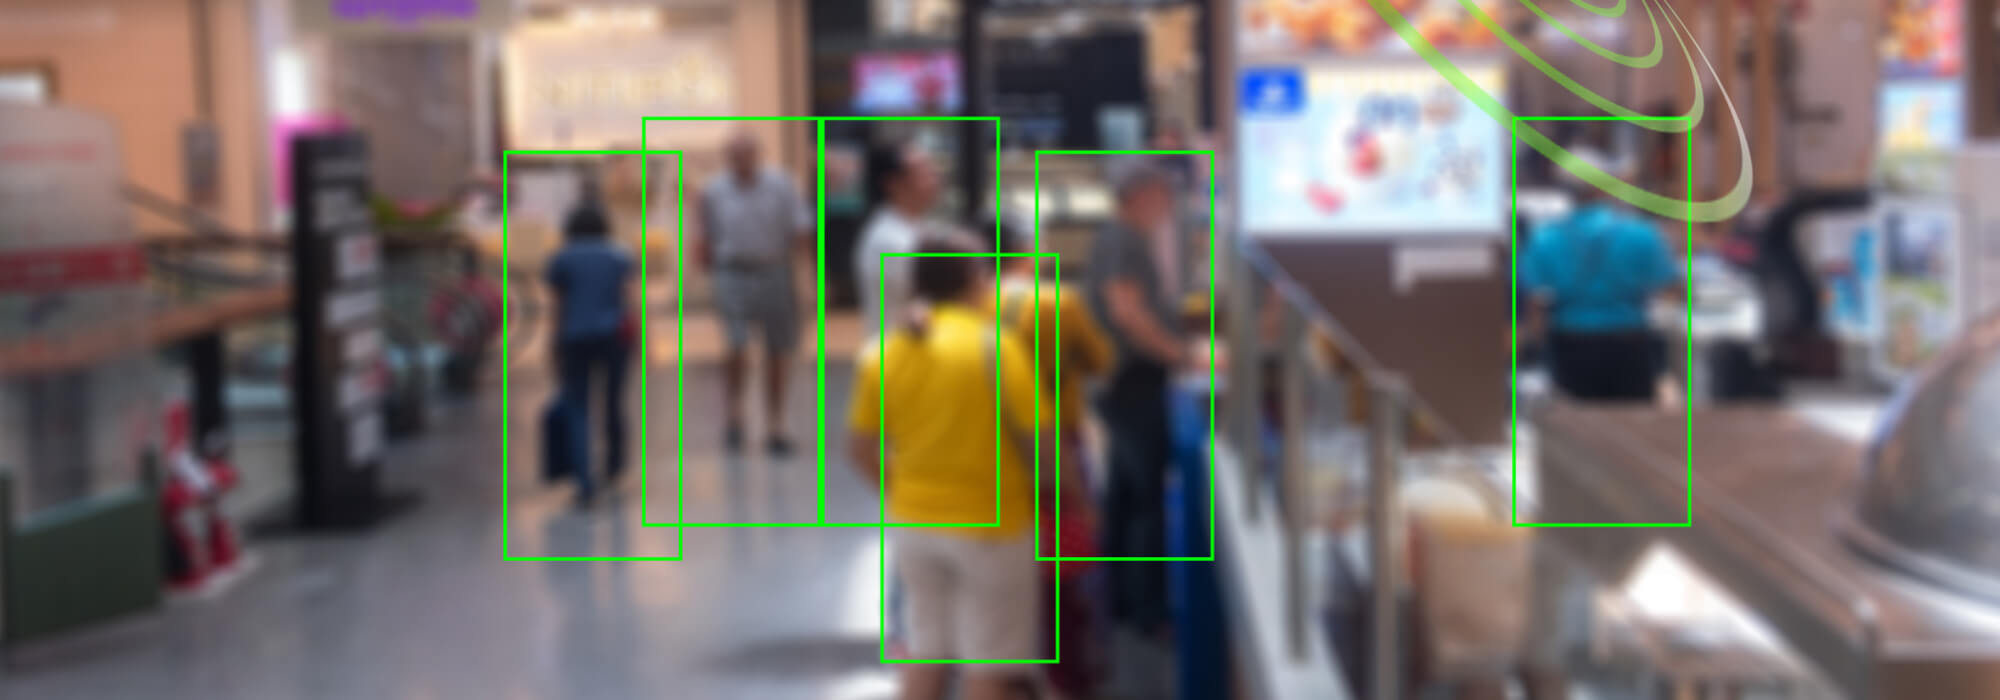
In this TechVentures episode, Lazina shows you how to quickly set up the Cyclops2 adapter board and run the out-of-the-box Object Detection and HD camera demos.
Featuring the onsemi AP1302 ISP and AR0830 image sensor, Cyclops2 pairs with NXP i.MX processors to create a powerful and flexible vision platform for applications like robotics, machine vision, biometrics, and edge AI.
Follow along as we connect the hardware, flash the firmware, configure Bluetooth, and launch the demos in just a few steps.
Featured products:
Future Electronics — Cyclops2: All-Seeing-Eye Adapter Board
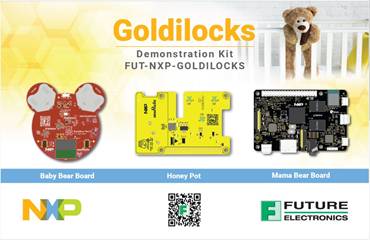
Future Electronics — Goldilocks Demonstration Platform
See the video above or read the full transcript below.
Toggle Transcript
Cameras are everywhere- scanning barcodes, powering robots, even tracking gestures. But connecting them to different processing platforms? That can get tricky. That’s why Future Electronics created the Cyclops2 adapter board! I’ll show you how to get it up and running, and unlock powerful vision demos in just minutes.
Hi! Welcome back to TechVentures.
My name is Lazina, and I’m a Technical Marketing Engineer at Future Electronics.
If you are interested in checking out any previous TechVentures videos, then please feel free to click the link on the screen or check out the description box below.
Today, we’re diving into the Cyclops2 adapter board- an advanced interface designed to make camera module evaluation easier and more powerful. Let’s get started!
Inside the box, you’ll find:
- The Cyclops 2 camera module adapter board (FUT-CYCLOPS2)
- The camera module (FUT-AR0830-MIPI-99FF)
- 15 pin Flex cable
- 6 Jumpers
To follow along, you’ll also need the Goldilocks board (FUT-NXP-GOLDILOCKS). Don’t worry if you don’t have one—Cyclops2 now supports additional NXP microcontroller boards, like the i.MX93 and 8M Plus EVK, thanks to its new flexible interfaces.

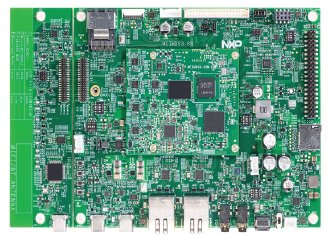
This was not possible with the first version of the Cyclops board. On the screen you will find a list of NXP microcontroller evaluation boards the Cyclops 2 board is compatible with:

So, what’s new with this version of the Cyclops board?
Cyclops2 integrates the onsemi AP1302 Image Signal Processor with the AR0830 image sensor, and it supports multiple connection formats like FLEX15, FLEX22, and Mini-SAS.
It’s designed for applications like machine vision, barcode scanning, gesture recognition, robotics, VR, and biometrics, basically any vision system you want to explore.
Let’s take a quick tour of the board:


- The Mini-SAS connector for camera and display inputs on NXP evaluation boards
- The 15-pin Raspberry Pi ribbon connector, great for flexibility with different camera modules. (black connector in the middle)
- The 22-pin MIPI connector, which supports 4-lane connections (versus 2-lane on the 15-pin), (white connector)
- And finally, the camera module slot, where you’ll gently press the camera into place. In this case, it’s our new onsemi IAS compliant AR0830 module.
Next, let’s configure the jumpers. Set them as follows:
- P3: Flex15
- P6: Closed
- P1: Closed
- P2: 48 MHz
- P5: Open
- P7: 1.05V
Now it’s time to bring the system together!
Grab the flex cable and connect Cyclops2 to the Goldilocks Mama Bear board.
- On Cyclops2, the blue side of the cable faces outward
- On Mama Bear, the blue side faces the headphone jack
Once connected, let’s move on to the firmware.
Download the latest firmware from the link to the DC Engine found in the quick start guide. After extracting the update package, you’ll see four files. Keep this folder open, we’ll need it shortly.

Set the mama bear board into serial download mode by setting the DIP switches to 1000, so SW1 and SW2 have to be reversed. The default out of the box is 0100.

Now connect both Micro-USB ports (J13 and J14) to your PC, and connect power through PWR J1.
Back on your computer, double-click the flash.bat file. The image will download, it’ll take approximately 10 mins. Once complete, power off the mama bear board, flip the DIP switches back to their original positions, power the mama bear board back on, and log in with username root, there’s no password.
Before launching the demos, there’s one last step: updating the Bluetooth MAC address on the Baby Bear board.
If you have a mouse connected, this update will make pairing seamless. If you don’t, just log into the serial console and run the command on the screen, “./find_baby.sh”.
Follow the on-screen instructions, and within about 60 seconds you’ll see the sensor readings on your Goldilocks GUI start to update. That means everything is connected properly and ready to go!

Now, for the fun part!
Straight out of the box, there are 3 working demos.
You’ll get:
- Object detection
- HD video streaming
- And there is support for the full NXP demo experience!
On the demo GUI, you’ll see two new buttons, one for object detection and the other for the Cyclops 2 HD camera demo.
If you have a mouse, connect it to the mama bear and click and run the demos.
If you don’t have a mouse, you can run the commands from your serial monitor.
Run the command “./object_detect.sh” for object detection and “./camera.sh” for the HD video.
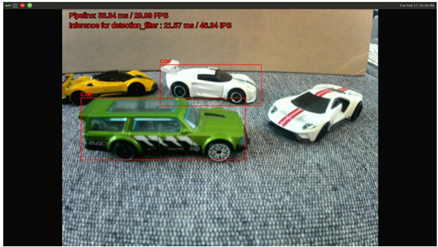
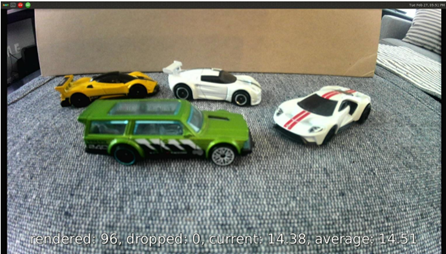
Stop the demos anytime with Ctrl-C.
And that’s it- your Cyclops2 is up and running!! With just a few steps you’ve got a complete, flexible vision system that combines NXP i.MX processors with onsemi image sensors, perfect for building next-gen vision applications.
For more information, please reach out to your local future electronics representatives or visit us online at futureelectronics.com! Thanks for watching and I’ll catch you next time on Techventures with Lazina!